How I Built and Attacked My Own Cybersecurity Homelab
Ever wondered what it's like to be both the attacker and the defender in a cybersecurity scenario? Well, I decided to find out by building my own enterprise-grade cybersecurity homelab and then systematically attacking it. Spoiler alert: I successfully breached my own network, and it was both terrifying and exhilarating!
This project, part of the "Enterprise 101 - From Initial Access to Breached" course by cybersecurity expert Grant Collins, taught me more about real-world cybersecurity than any textbook ever could. Let me take you through this wild journey of building a complete business network simulation and then unleashing my inner hacker on it.
The Grand Architecture: Building a Mini Enterprise
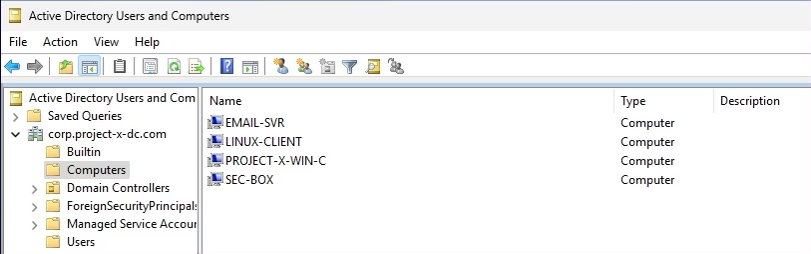
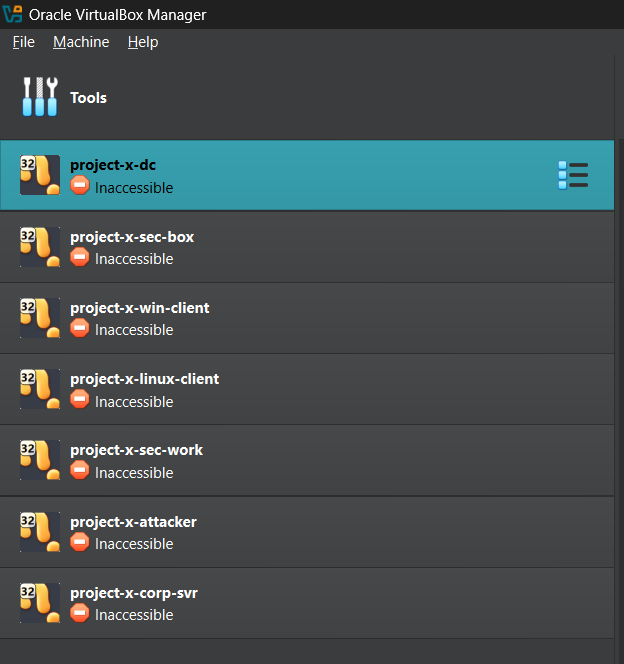
First things first - I needed to create a realistic business environment. No point in attacking a single lonely VM, right? So I went all out and built a complete enterprise network with 7 virtual machines, each serving a specific purpose:
# Network Layout: 10.0.0.0/24
Domain Controller    → 10.0.0.5   (Windows Server 2025)
Corporate Server     → 10.0.0.8   (Ubuntu Server - Jumpbox)
Security Server      → 10.0.0.10  (Ubuntu Desktop - SIEM)
Windows Workstation  → 10.0.0.100 (Windows 11 Enterprise)
Linux Workstation    → 10.0.0.101 (Ubuntu Desktop)
Security Playground  → 10.0.0.103 (Security Onion)
Attacker Machine     → Dynamic   (Kali Linux)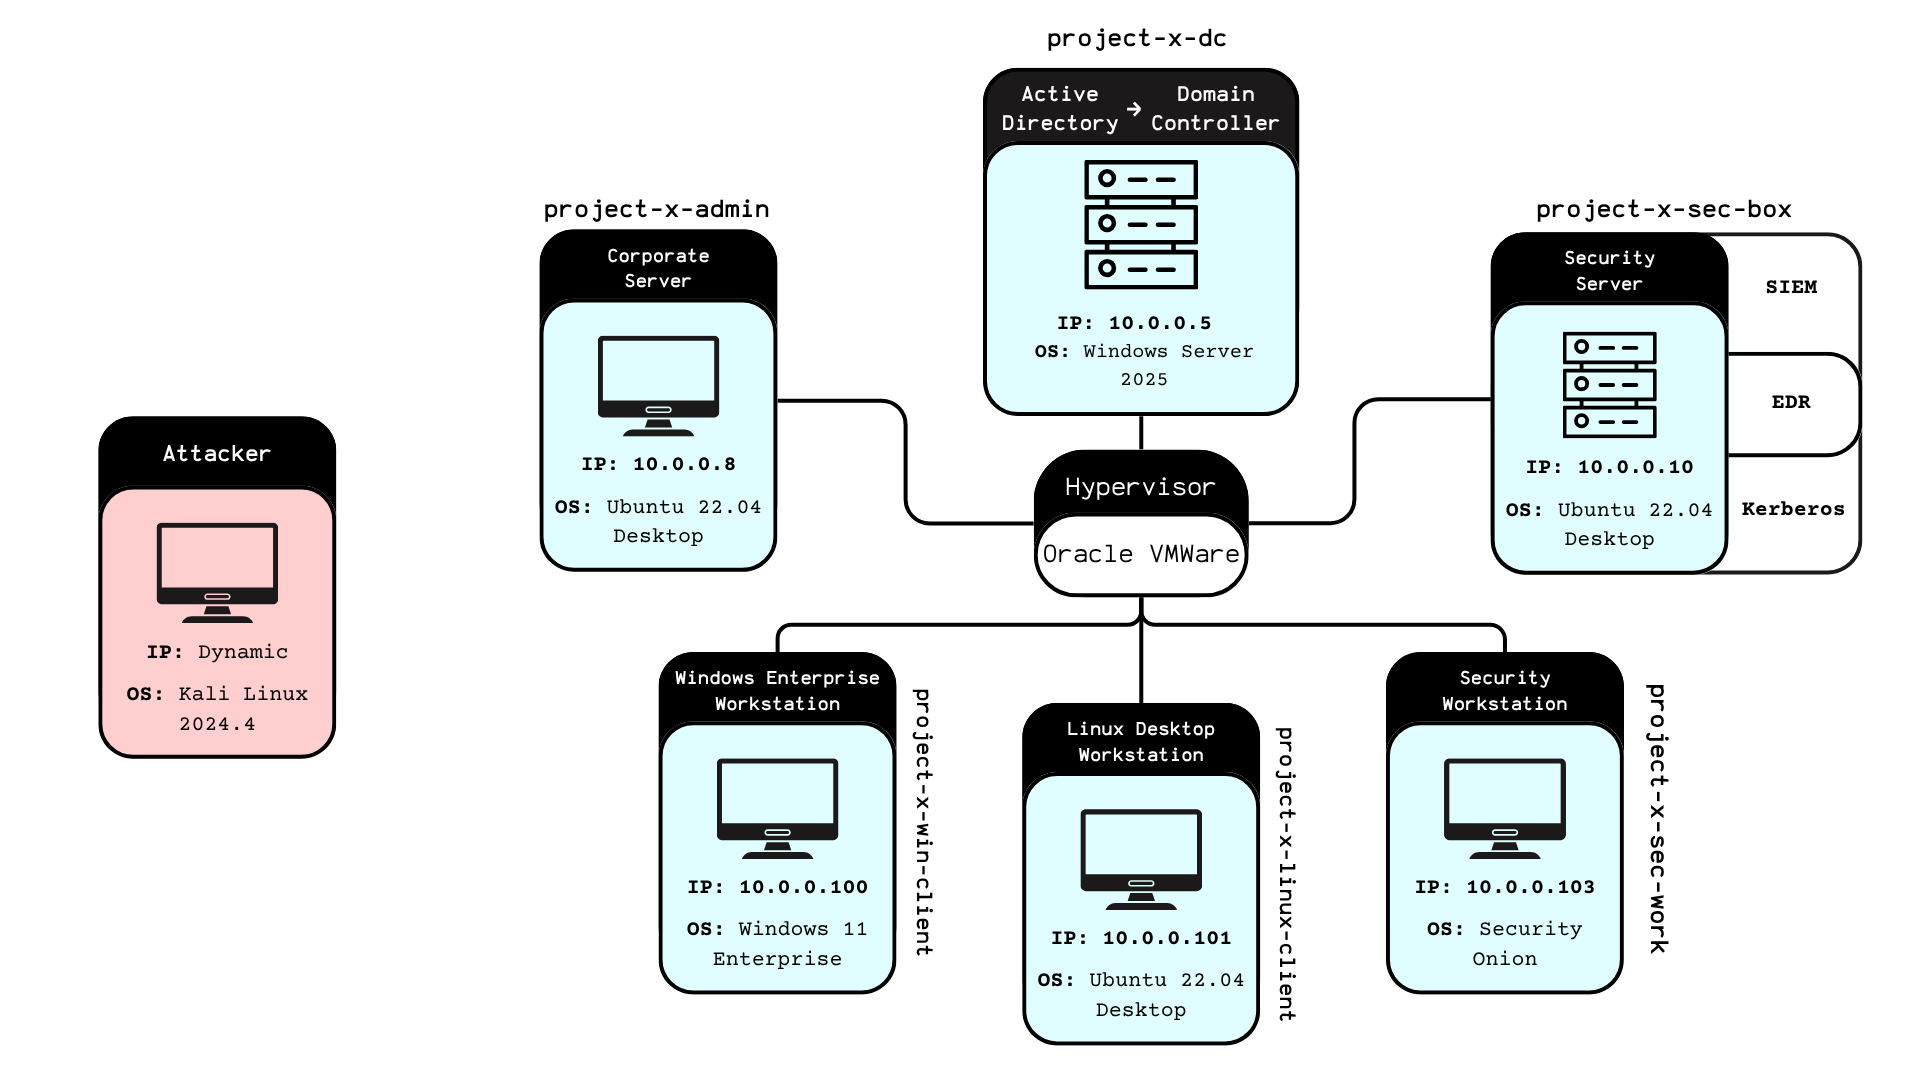
The beauty of this setup? It mirrors real enterprise environments. We've got Active Directory for centralized authentication, a jumpbox for secure access to internal services, SIEM monitoring with Wazuh, and even an email server using MailHog. It's like having a mini corporate network in my laptop!
The Defense Arsenal: Blue Team Setup
Before I could play the bad guy, I needed to set up proper defenses. After all, what's the fun in attacking an undefended network? Here's what I deployed:
Microsoft Active Directory
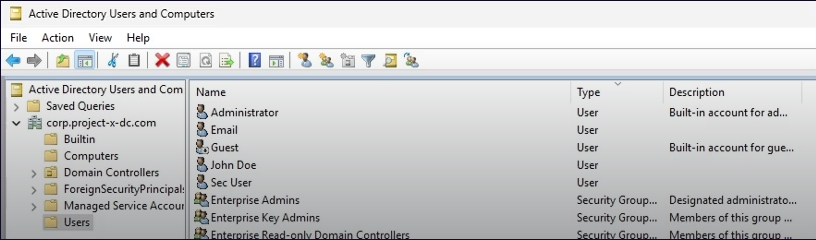
The crown jewel of enterprise authentication. I configured a full Windows Server 2025 domain controller with users like johnd@corp.project-x-dc.com and proper group policies. Because every good attack story starts with "I compromised Active Directory."
Wazuh SIEM
This open-source security monitoring platform became my digital watchdog. I configured it to detect SSH brute force attempts, WinRM connections, and authentication failures. The best part? I set up custom alerts that would trigger after 3 failed SSH attempts. Little did I know I'd be triggering these alerts myself later!
# Wazuh Rule Configuration
Rule ID: 5760
Description: sshd: authentication failed
Alert Trigger: > 2 failed attempts within time window
Security Onion
Think of this as the "Kali Linux of network monitoring." It came packed with Zeek for traffic analysis, Suricata for intrusion detection, and the Elastic Stack for log management. It's like having a team of security analysts watching your network 24/7.
Making It Vulnerable: The Necessary Evil
Here's where things got interesting (and slightly scary). To make this a realistic attack scenario, I had to intentionally introduce vulnerabilities. It felt wrong, but it was necessary for learning:
# SSH Configuration Changes
PasswordAuthentication yes
PermitRootLogin yes
Root Password: november  # Weak password alert!

# WinRM Enabled on Windows Client
Enable-PSRemoting -force
Set-Item wsman:\localhost\client\trustedhosts *
I also strategically left the corporate server without Wazuh agent installation - creating a blind spot in monitoring. In real life, this happens more often than you'd think due to forgotten systems or legacy infrastructure.
The Attack Phase: Unleashing Kali Linux
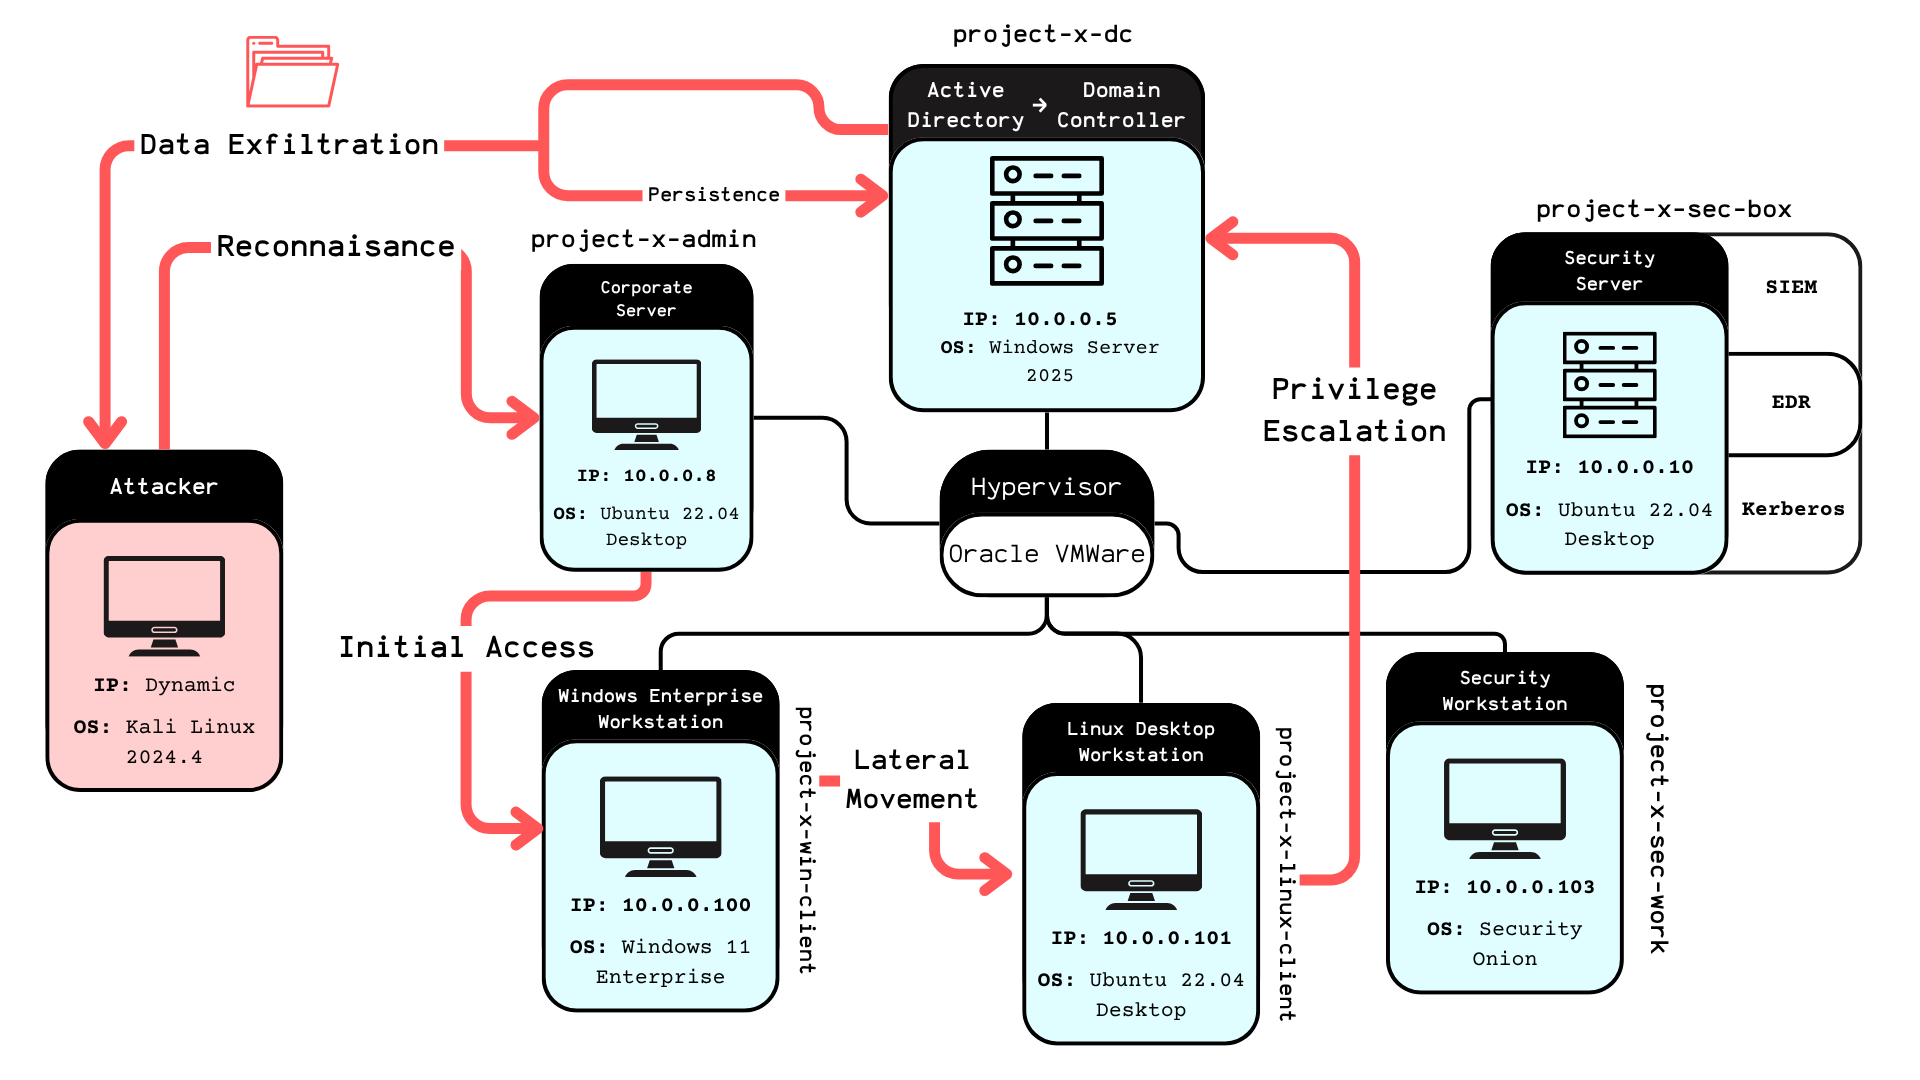
Now came the fun part - switching to my Kali Linux attacker machine and going full red team mode. Armed with tools like Hydra, Evil-WinRM, NetExec, and SecLists, I began my assault on my own network.
Phase 1: Reconnaissance
Every good attack starts with information gathering. I scanned the network, identified open services, and mapped out the attack surface. The SSH services on ports 22 and the WinRM on port 5985 immediately caught my attention.
Phase 2: Brute Force Attacks
Using Hydra, I launched brute force attacks against the SSH services. The weak "november" password didn't stand a chance:
# Hydra SSH Brute Force
hydra -l root -P /usr/share/wordlists/rockyou.txt ssh://10.0.0.8
# Success! Password: november
Phase 3: Lateral Movement
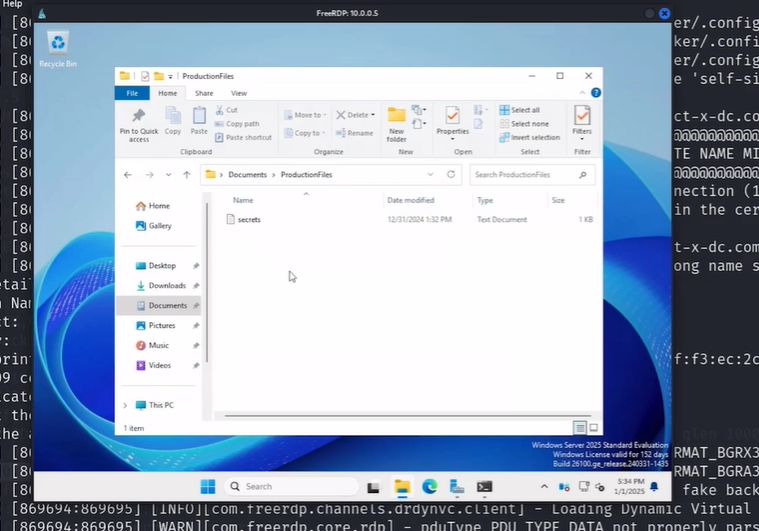
Once I gained access to the corporate server (the jumpbox), I had a foothold in the internal network. From there, I could access the containerized services and potentially pivot to other systems. The lack of Wazuh monitoring on this critical server meant my activities went undetected.
Phase 4: Windows Exploitation
Using Evil-WinRM, I targeted the Windows workstation. The enabled WinRM service provided a perfect attack vector for remote command execution and data extraction.
The SIEM Perspective: Watching Myself Get Hacked
The most surreal part of this project was watching my own attacks unfold in real-time through the Wazuh dashboard. Every failed SSH attempt, every successful login, every suspicious activity was logged and analyzed.
I created custom monitoring rules that would alert on:
- 3+ failed SSH attempts (Rule ID: 5760)
- WinRM logon events (Rule ID: 60106)
- Unusual authentication patterns
- Privilege escalation attempts
Seeing the alerts fire off as I conducted my attacks was both educational and slightly unnerving. It really drove home how important proper monitoring and alerting are in a real environment.
Tools of the Trade: My Cybersecurity Arsenal
This project introduced me to an impressive array of tools, each serving a specific purpose in the attack-defense cycle:
Offensive Tools (Red Team)
Evil-WinRM:    Windows Remote Management exploitation
Hydra:         Password brute-forcing across protocols
SecLists:      Comprehensive wordlists for attacks
NetExec:       Network exploitation and lateral movement
XFreeRDP:      Remote desktop protocol connections
Defensive Tools (Blue Team)
Wazuh:           SIEM platform for security monitoring
Security Onion:  Network security monitoring suite
Active Directory:Centralized authentication and authorization
MailHog:         Email testing and monitoring
Lessons Learned: The Good, The Bad, and The Scary
The Good
This hands-on approach taught me more about cybersecurity than months of theoretical study. Understanding both the attacker and defender perspectives gave me invaluable insights into real-world security challenges.
The Bad
I discovered how easy it is for small misconfigurations to create massive security gaps. That unmonitored jumpbox? In a real environment, that could be game over for the entire network.
The Scary
The most sobering realization was how quickly I could compromise the entire network once I gained that initial foothold. The attack chain from initial access to full domain compromise was frighteningly short.
Real-World Applications
This homelab experience directly translates to real-world cybersecurity scenarios:
- Penetration Testing: Understanding attack vectors and exploitation techniques
- Security Monitoring: Configuring SIEM systems and creating effective detection rules
- Incident Response: Recognizing attack patterns and responding to security events
- Network Hardening: Identifying and mitigating common vulnerabilities
- Risk Assessment: Understanding the impact of security misconfigurations
The Technical Deep Dive
For fellow cybersecurity enthusiasts, here are the technical specifications that made this project possible:
# VM Specifications
Hypervisor:     VMware Workstation Pro
Network:        NAT Network (10.0.0.0/24)
DHCP Range:     10.0.0.100 - 10.0.0.200
Total Storage:  ~400GB across all VMs
RAM Usage:      ~20GB when all VMs running
The project files and attack scenarios are available on GitHub, making it possible for others to replicate this learning experience. The beauty of this setup is its scalability - you can add more attack vectors, defense mechanisms, or monitoring tools as you learn.
Conclusion: From Student to Cyber Warrior
Building and attacking my own cybersecurity homelab was one of the most educational experiences of my journey into cybersecurity. It transformed abstract concepts into tangible skills and gave me a deep appreciation for both offensive and defensive security practices.
The project taught me that cybersecurity isn't just about knowing the tools - it's about understanding the mindset of both attackers and defenders. Every vulnerability I introduced, every attack I launched, and every alert I configured contributed to a comprehensive understanding of enterprise security.
For anyone considering a career in cybersecurity, I can't recommend hands-on projects like this enough. There's something uniquely valuable about being able to say, "I've been on both sides of a cyber attack." It changes how you think about security, risk, and the importance of proper defensive measures.
Now, if you'll excuse me, I need to go patch all those vulnerabilities I intentionally created. Even in a homelab, good security hygiene is important!
Want to build your own cybersecurity homelab? The complete project files and step-by-step guides are available through the Enterprise 101 course. Remember: always practice ethical hacking in controlled environments and never attack systems you don't own!
PS: Additional Project Notes
This homelab project represents just the beginning of my cybersecurity journey. The hands-on experience gained from building, defending, and attacking this enterprise simulation has been invaluable for understanding real-world security challenges.
Special thanks to Grant Collins for creating such a comprehensive and practical course. The "Enterprise 101" methodology of learning through doing has proven far more effective than traditional theoretical approaches to cybersecurity education.
Future enhancements to this homelab include implementing additional monitoring tools, exploring advanced persistent threat (APT) simulation, and integrating cloud security components. The modular nature of this setup makes it perfect for continuous learning and experimentation.
For fellow cybersecurity students: don't just read about attacks and defenses - build your own lab and experience them firsthand. The insights you'll gain are irreplaceable.